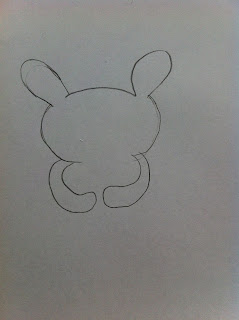
Anyway, this how to is How to draw a cute bunny :) i got this idea from a tutorial on YouTube.
The materials you'll need:
-Pencil
-rubber
-piece of paper (can be any size you want)
-coloured pencils
Step 1: Draw a curved line, this is going to be the top of the head.
Step 3: draw two curved lines to form the sides of the head. (Don't worry, if you muck up something, you can always rub it out or fix it up later)
Step 4: Draw two curvy lines, sort of like a snakes head shape. These are going to be the arms.
Step 5: draw a carrot between its hands, like shown above.
Steep 6: Now draw a half circle shape at the bottom. This is going to be where the feet are going to go.
Step 7: Draw two oval shapes, on the sides of the line we just drew. These are the feet.
Step 8: Draw one curved line with a point at the end in the ears. this is the detailing in the ears.
Step 9: Draw two circles and fill them in with your pencil. These are the eyes.
Step 10: Draw a little upside down triangle, this is the nose.
Step 11: Draw two curved lines, under the nose. This is the mouth.
Step 12: Now fine line it, you can fix up any mistakes you did.
Step 13: Now just colour it in and your done.
Tip: If you want to make your bunny look more realistic, shade the sides of the bunny with a darker colour.


No comments:
Post a Comment