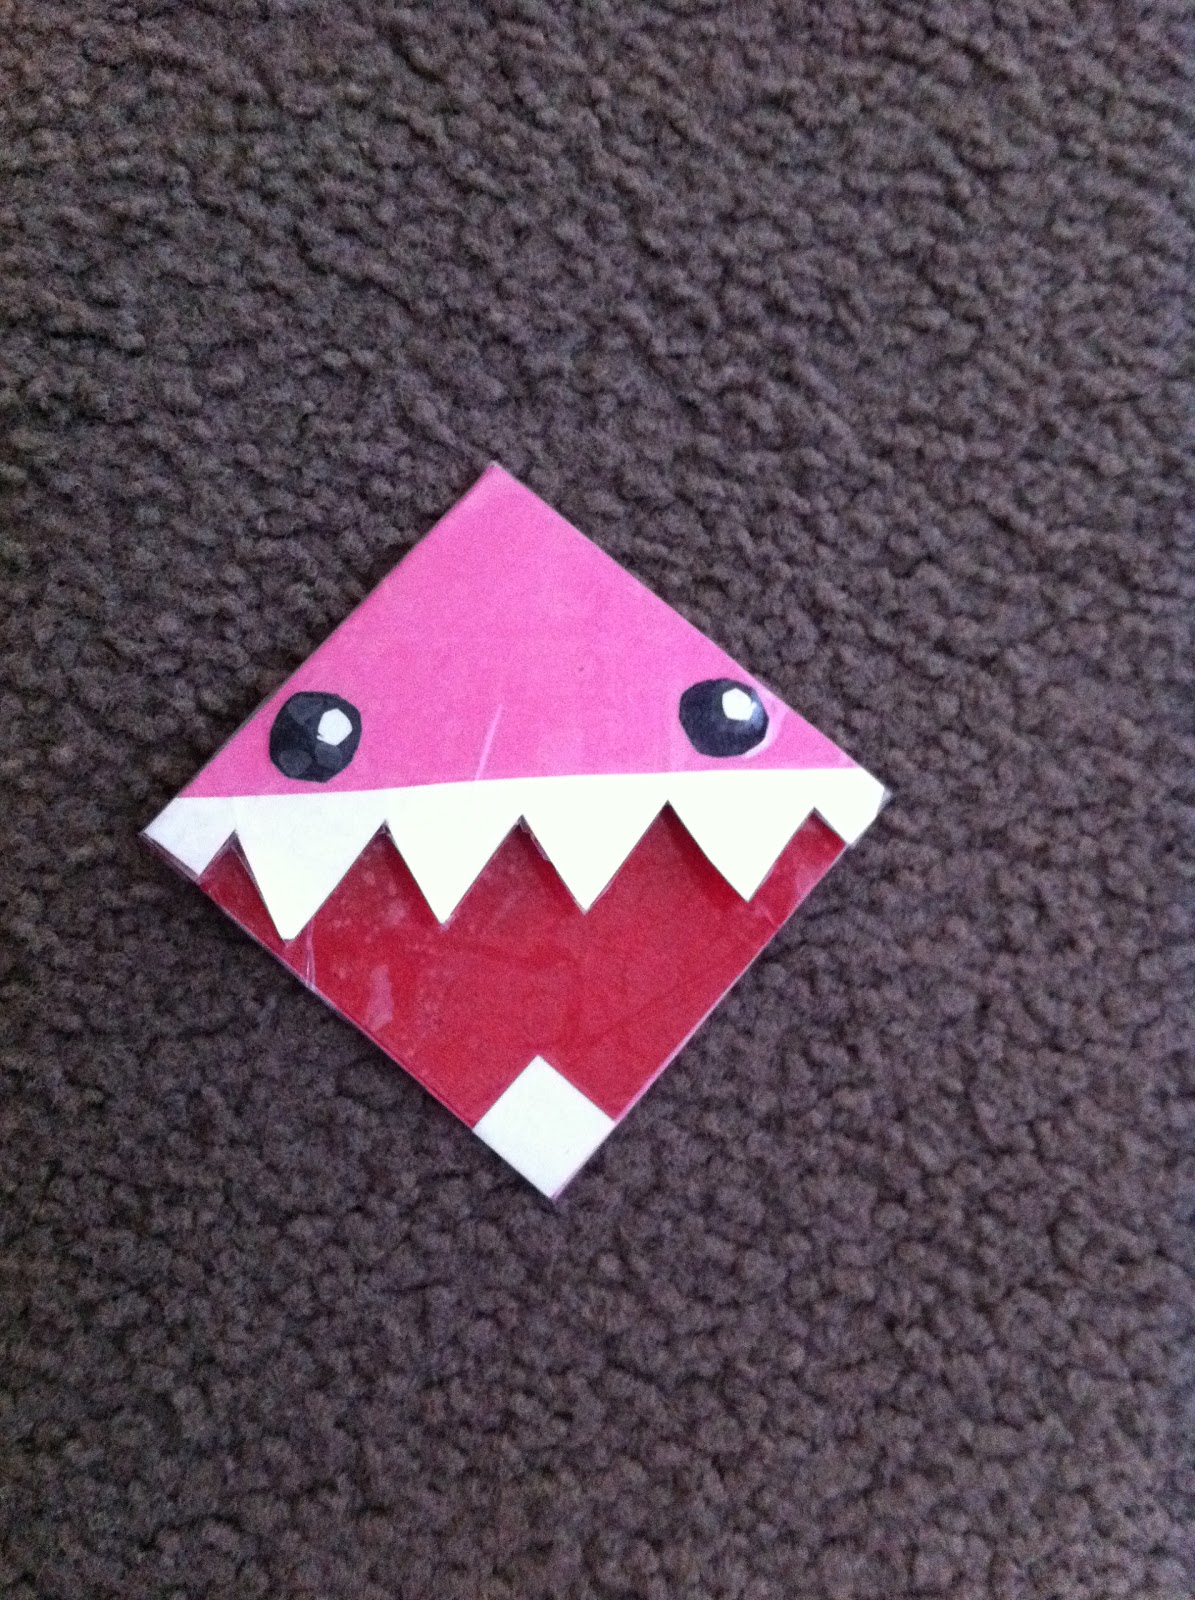
Hey Guys :) Today im going to show you all how to make a Domo bookmark :) So this is what it looks like. You dont have to make a pink Domo, you can pick any colour you want :) im going to be making a blue one for the tutorial :) Enjoyy!!! :D
The Materials:
-Coloured paper: red, for the mouth, black, for the eyes, white, for the teeth and the colour you want your Domo to be, in my case, that is blue.
-Siccors
-Glue
-Ruler
Step 1: Get your Domo coloured piece of paper and draw 3 squares like shown in the picture. (5.5cm by 5.5cm) Then on the top and bottom right square draw a diaginal line. Now cut it out. it should look like....
Step 2: This!! Now rub out any pencil lines you can see.
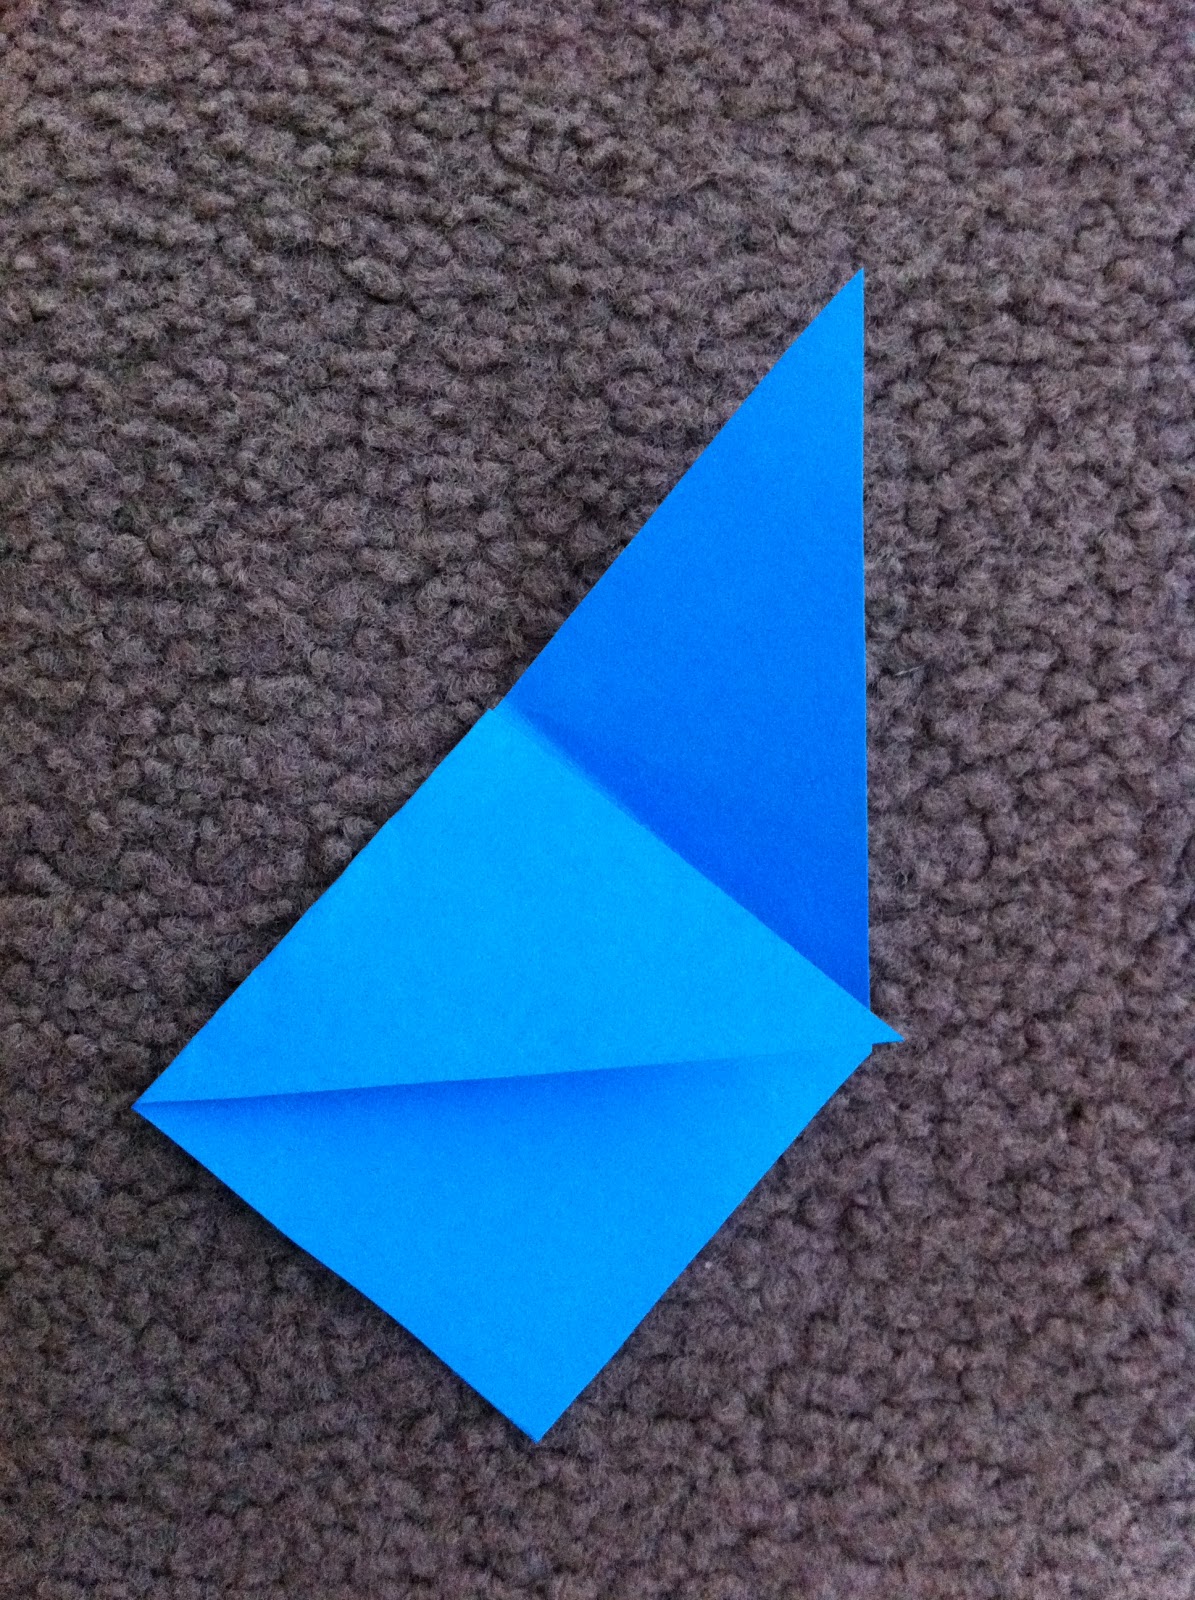
Step 3: Now fold up 1 corner, and it should look like this. now repeat this step for the other corner.
Step 4: Now it should look something like this. now turn it round so the 2 flaps are at the top.
Step 5: Now lift up the first flap and glue it down. It doesn't matter if it doesn't look even, cause we are going to cover it up soon.
Step 6: Now get your red piece of paper, and outline your square, like this.
Step 7: Cut out your red piece of paper, and slip it through the blue piece, to see if it fits. If its to big, just trim it. Now that it fits, glue it down.
Step 8: Get your white piece of paper, and cut out a strip, this is going to be the teeth. Start to cut triangles out to get this shape.
Step 9: Glue on the teeth, overlaping the blue (or what ever colour you have) just a tiny bit.
Step 10: get your black piece of paper, and draw a circle, this is going to be the eyes. cut out 2 circles.
Step 11: Glue on your eyes. for the white of the eye, just cut 2 tiny circles and glue them on. For the bottom tooth, just cut out a white square, and glue it on the bottom.
To use this bookmark, just slip the corner of the page into the mouth, and it will look like this.
I hope you enjoyed :) thank you!!


No comments:
Post a Comment